-
Timeless Classics
-
Quick & easy (production)
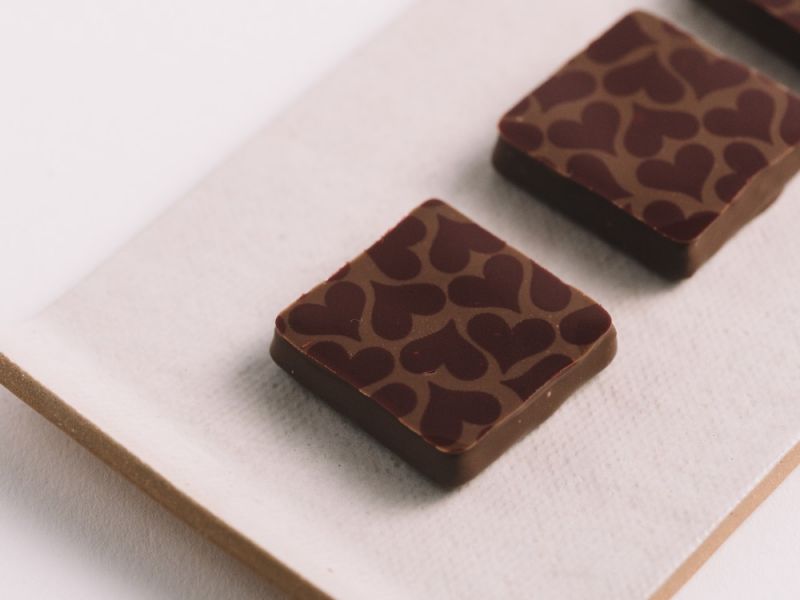
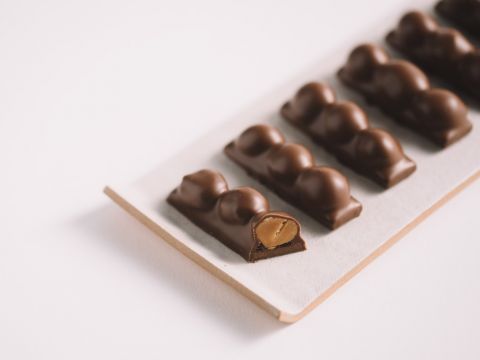
Inspired by Murcia’s oranges, a city in southeastern Spain, you will love the flavor kick and freshness of this orange ganache!Inspired by Murcia’s oranges, a city in southeastern Spain, you will love the flavor kick and freshness of this orange ganache!Inspired by Murcia’s oranges, a city in southeastern Spain, you will love the flavor kick and freshness of this orange g...
- Shelf life:
- 6 - 8 Weeks
- Conservation:
- Between 8ºC - 16ºC
Containing: 2 Components
Orange ganache
Ingredients: Orange ganache
-
50 g35% cream
-
150 gorange puree
-
1 gorange zest
-
5 gfresh ginger
-
25 gglucose syrup
-
25 ginvert sugar
-
50 gButter
Preparation: Orange ganache
- Dip the paper towel in a bowl of water, wet the tray and attach a guitar sheet on it. Remove any air bubbles with the scraper.
- Pour dark chocolate onto the guitar sheet and spread a thin layer. Then, immediately stick the frame on the chocolate.
- Bring the cream, orange purée, zest, ginger, glucose syrup and invert sugar to the boil.Place the chocolate and Mycryo™ in the Thermomix®or blender and strain the cream mixture on top of the chocolate.
- Mix until well emulsified.Add the butter and mix again. If the ganache’s temperature is higher than 32ºC (90ºF), pour in a bowl and keep mixing until the temperature goes down to 32ºC (90ºF).
- Pour the ganache in the prepared frame. Scrape the excess and then let it crystallize overnight at 16ºC (61ºF).
- Once the ganache is set, use a knife to remove the frame.
- Lift the ganache using the guitar sheet underneath, turn and remove the bottom sheet and then place the ganache on the guitar cutter and cut into 30mm (1.18”) squares.
Tools
- Cooktop
- Saucepan
- Metal Tray
- Knife
- Strainer
- Thermometer
- Bowl(s)
- Paper towel
- Guitar cutter
- Guitar sheets
- Thick frame 22.8cm x 33cm x 8mm (8.6” x 13” x 3.15”)
- Thermomix®or blender
- A normal & a wide scraper
- Spatula(s)
Assembly
Ingredients: Assembly
-
Q.S.Orange ganache squares (Component 1)
Preparation: Assembly
- Fill a bowl to the rim with crystallized Callebaut® Arriba Single Origin milk chocolate.
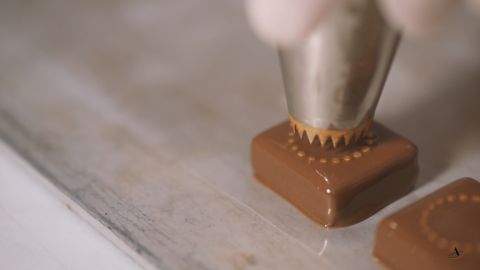
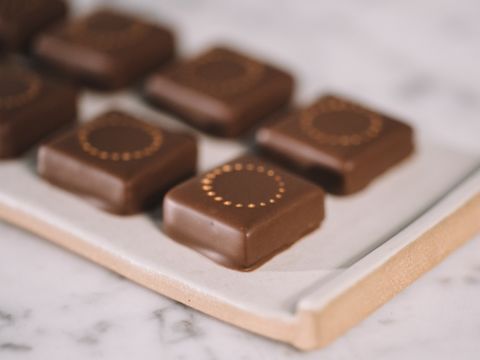
- Enrobe each piece of ganache with chocolate and place on a parchment-covered tray.
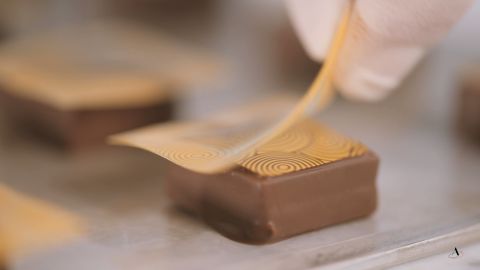
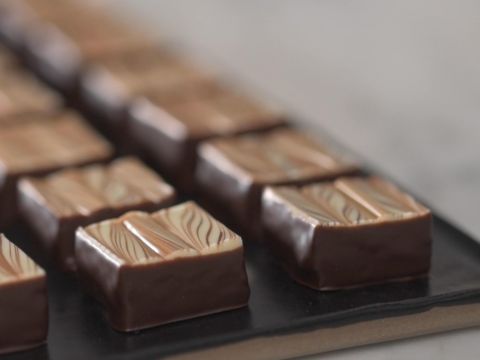
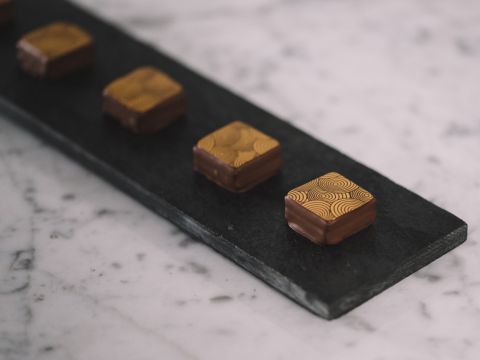
- Immediately place a transfer square on each piece and press gently with the sponge to remove air bubbles and fix the transfer sheet in place.
- Let crystallize completely before removing the transfer sheet from each piece.
Tools
- Metal Tray
- Parchment paper
- Gloves
- Mixing bowl (s)
- Dipping fork
- Transfer sheet, cut into 35mm (1.4”) squares
- Sponge
Need support with your chocolate confections?
- Find troubleshooting guides & tutorials
- Chat live with an advisor chef and find the right solution to your challenges




Comments