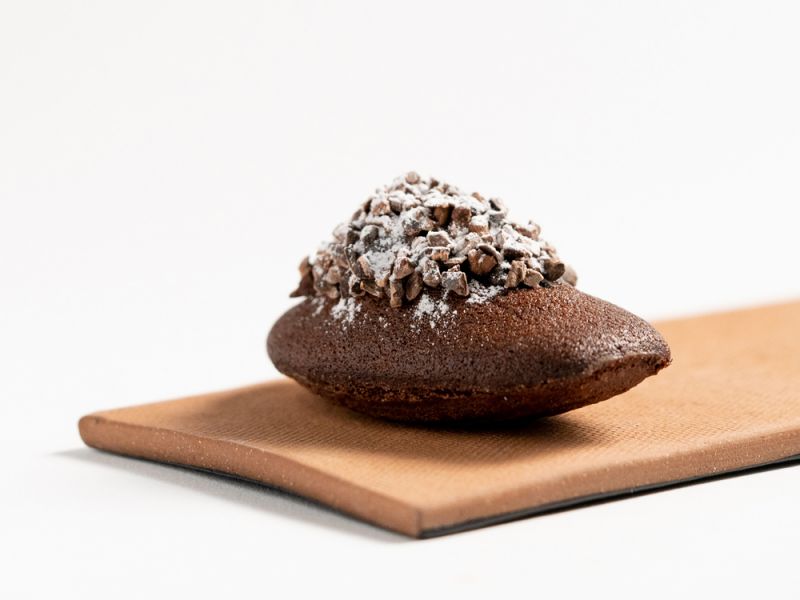
Explore a true bakery classic and learn the techniques to create the batter and to achieve the perfect madeleine bump on top. The bold taste and crunch of the cocoa nibs is a great contrast to the rich chocolate madeleine that is underneath.Explore a true bakery classic and learn the techniques to create the batter and to achieve the perfect madeleine bump on top. The bold taste and crunch of the cocoa nibs is a great contrast to the rich chocolate madeleine that is underneath.Explore a true bakery classic and learn the techniques to create the batter and to achieve the perfect madeleine bump on...
- Shelf life:
- 1 Day
- Conservation:
- Room temperature
Containing: 2 Components
Chocolate Madeleine Batter
Ingredients: Chocolate Madeleine Batter
-
7.2 ozbutter
-
4 beans(s)Vanilla beans
-
4.2 ozAll purpose flour
-
0.3 ozbaking powder
-
5.3 ozwhole eggs, room temperature
-
3.2 ozSugar
-
0.1 ozsalt
-
2.6 ozinverted sugar
-
0.3 ozGrapeseed oil
-
1.8 ozWhole milk
-
Q.S.Butter, Softened
-
Q.S.All purpose flour
-
1.9 ozCacao Barry Plein Arome Cocoa Powder
Preparation: Chocolate Madeleine Batter
- Melt the butter together with the vanilla bean scrapings and the vanilla bean to infuse in a saucepan. Keep warm.
- Sift together the flour, cocoa powder and baking powder.
- Whip the eggs, sugar, salt and invert sugar to ribbon stage in the mixer.
- Once the mixture is fluffy, add in the oil and mix using a spatula.
- Add the flour mixture to the whipped egg mixture and fold it just until it comes together.
- Strain the infused butter and add it to the egg mixture in several additions. Mix well after each addition.
- Warm the milk to 50°C (122°F) and add to the batter. Mix until perfectly combined and smooth.
- Pour the mixture into a bowl, cover with plastic film and make sure the plastic touches the surface of the batter to prevent a skin from forming.
- Refrigerate the batter overnight.
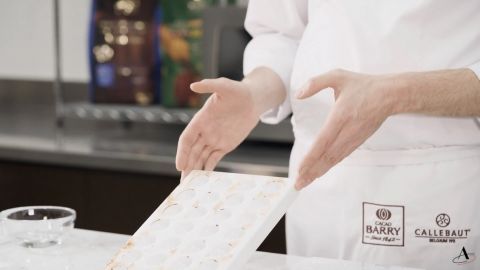
- Butter the madeleine mold using a brush. It is very important to apply a thin, even layer of butter into the mold.
- Sift the flour onto the molds. Tap the mold on the side in both directions to ensure the molds are evenly floured and then remove the excess flour.
- Pour the batter into a piping bag. Flatten it on the table and let the batter warm up, if needed, in order to pipe more easily.
- Pipe into the prepared madeleine molds. It is important that the molds are all uniformly filled from the front to the back.
- About 90% of the mold should be filled.
- Place the mold into the freezer for 10 minutes.
- After 10 minutes in the freezer, immediately bake at 180°C (356°F) for 8-10 minutes, depending on the power of your oven. For the best result, put the madeleine tray from the freezer straight into the hot oven onto an already hot tray.
- Remove from the oven and unmold immediately. Allow to cool completely on a rack.
Tools
- Cooktop
- Saucepan
- Metal Tray
- Knife
- Strainer
- Thermometer
- Piping Bag
- Scissors
- Bowl(s)
- Parchment paper
- Mixing bowl (s)
- Plastic film
- Spoon
- Rack
- Brush
- Small offset spatula
- Tabletop mixer, mixing bowl and a whisk
- Spatula
- Madeleine mold
- Mutfak eldiveni
- Sieve
Decorations
Ingredients: Decorations
-
Q.S.powdered sugar
Preparation: Decorations
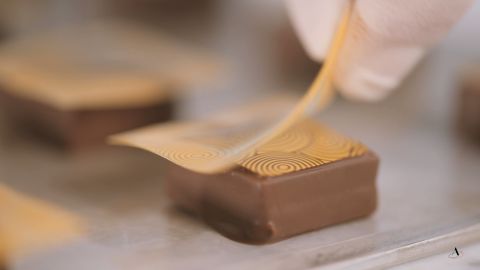
- Fold the candy pad in half and cut a half circle in the middle to fit the tops of the madeleines.
- Dip each madeleine into the pre-crystallized chocolate and then into the roasted cocoa nibs.
- Place the madeleines onto a parchment lined tray, and then use the candy pad as a stencil and sift some powdered sugar on top of each madeleine.
- Madeleines are best enjoyed the same day as they are prepared, however they can be stored for up to 1 day in an airtight container at room temperature.
Tools
- Metal Tray
- Scissors
- Bowl(s)
- Parchment paper
- Gloves
- Sifter
- Candy pad
Need support with your chocolate confections?
- Find troubleshooting guides & tutorials
- Chat live with an advisor chef and find the right solution to your challenges





Comments